How to Wrap Your Hands for Muay Thai (Step by Step)
Hand wraps are the cheapest piece of kit you'll buy and the one that does the most work. They hold the small bones of the hand together, support the wrist so it doesn't fold on a bad punch, and keep your gloves from smelling like a swamp. Most beginners either skip them or wrap so loosely that they bunch up in the glove. This guide gives you one reliable method that works for pads, bags and sparring.
There are dozens of wrapping styles. Thai trainers often wrap differently from boxing coaches, and fighters have personal variations. Learn the basic version below first; adapt it later once you know where your hands hurt.
What you need
- A pair of 4.5 m (180 inch) wraps. This is the standard adult length. The 2.5 m wraps sold for kids or "quick wraps" don't give enough coverage for an adult hand throwing kicks-and-punches rounds.
- Semi-elastic ("Mexican style") or cotton. Semi-elastic wraps mould to the hand and are easier for beginners. Cotton wraps are stiffer and some people prefer them for wrist support.
- A thumb loop and Velcro closure. Almost all wraps have both.
A pair costs around the price of a coffee and a sandwich. Buy two pairs so one can dry while you use the other.
The method
Wrap with the hand open, fingers spread slightly, and the wrap laid flat at every turn. Bunched fabric under the glove becomes a pressure point within one round.
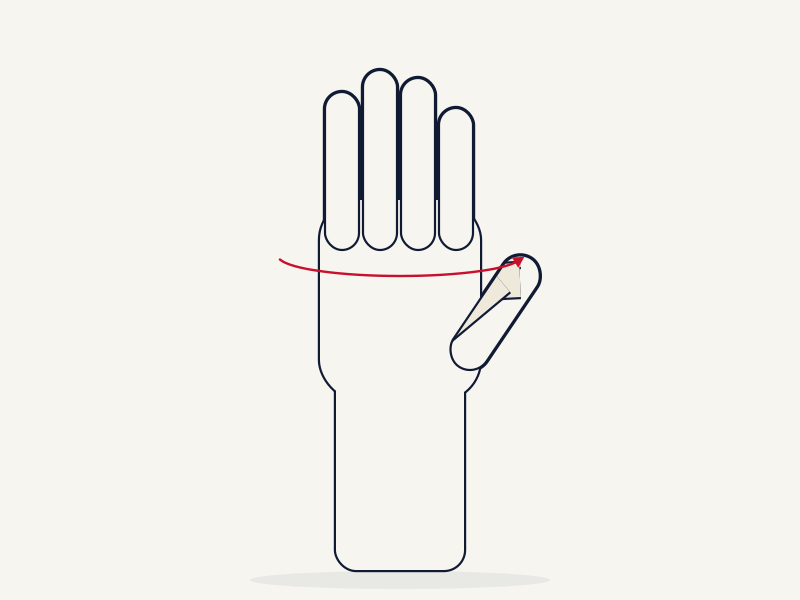
1. Thumb loop. Hook the loop over your thumb with the wrap running across the back of your hand, not the palm. Starting across the back means the wrap tightens when you make a fist rather than loosening.
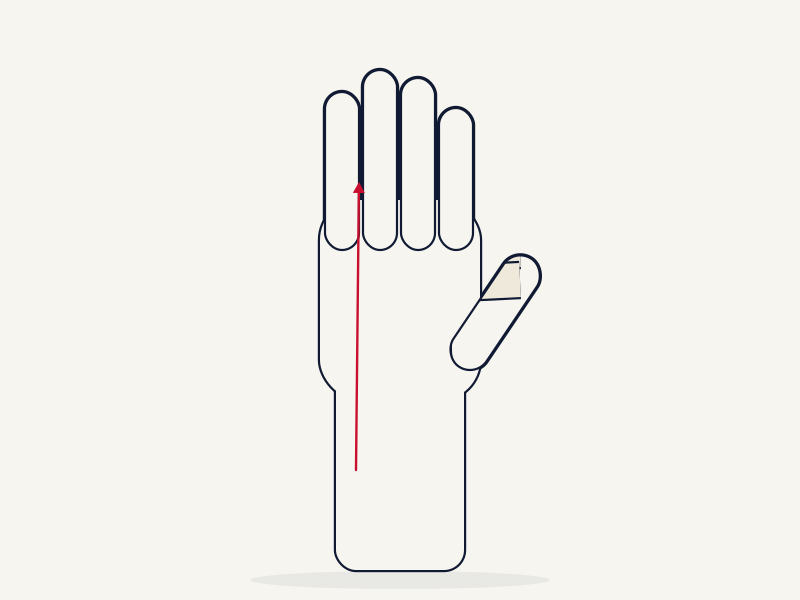
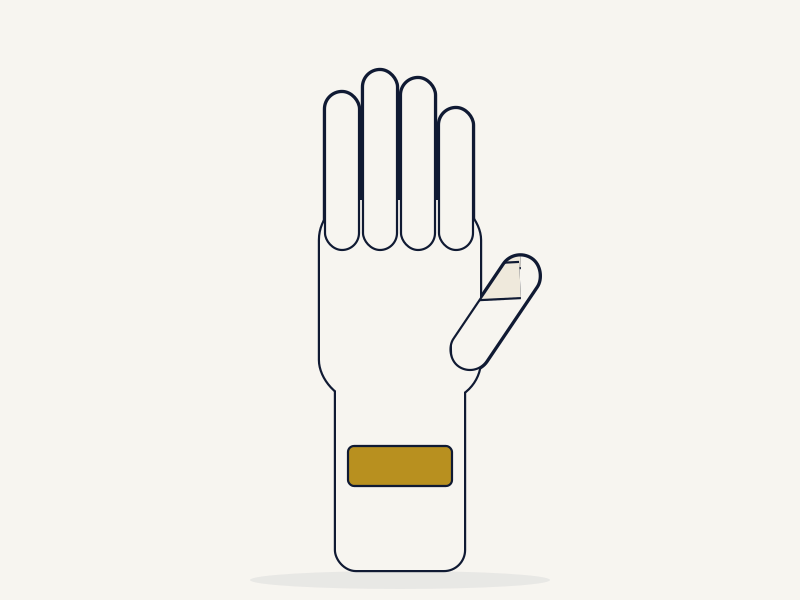
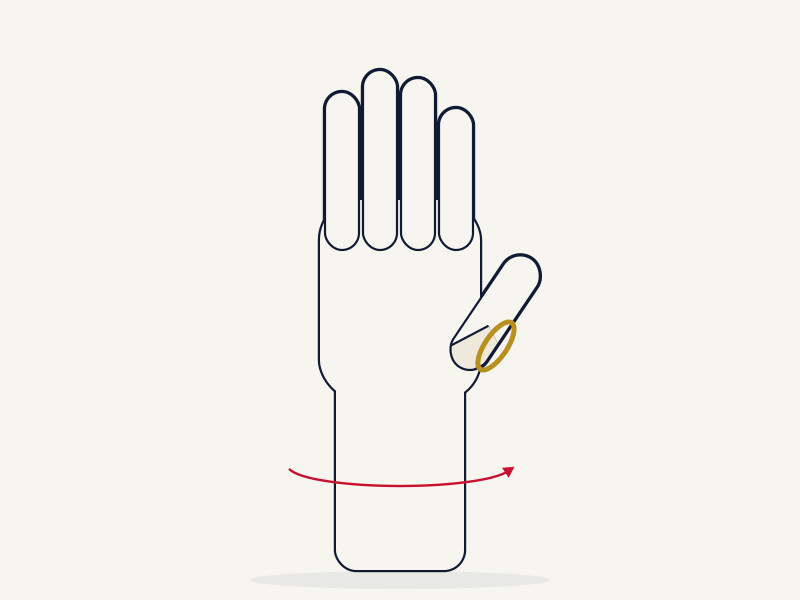
2. Wrist. Wrap around the wrist three or four times. Firm, not tight. The wrist is where beginners get hurt, so don't skimp on this section. Keep the wrap on the wrist itself, not creeping up the forearm.
3. Knuckles. Take the wrap diagonally across the back of the hand and go around the knuckles three times. Keep the fingers spread while you do this; if you wrap with the fingers together, the wrap is too tight once you make a fist.
4. Thumb. Come back across the back of the hand, go once around the base of the thumb, and back across. The thumb needs to be held to the hand, not left flapping, because a thumb that catches on a pad or a partner's elbow is a common injury.
5. Finger weave. Bring the wrap down to the wrist, then up between the little finger and ring finger, back down across the palm to the wrist, up between the ring and middle finger, and again between the middle and index finger. Each pass forms an X across the back of the hand. This is what stops the knuckle padding sliding around and separates the fingers so they can't jam into each other.
6. Knuckles again. One or two more turns over the knuckles for padding.
7. Finish at the wrist. Use whatever length is left on the wrist and fasten the Velcro. If you have a lot left over, your knuckle and wrist turns were too loose; if you run out before the wrist, they were too many.
Make a fist. It should feel supported and slightly compressed, with no throbbing and no white fingertips. Open the hand; the wrap shouldn't loosen or shift. Now do the other hand, which is harder because you're using your weak hand to wrap.
How tight?
Firm enough that nothing moves, loose enough that you can open and close the hand freely. If your fingers tingle or the wrap feels like a tourniquet before you've thrown a punch, unwrap and redo it with slightly less tension on the wrist turns. Wraps tighten a little on their own as your hands warm and swell during a session.
Thai style vs boxing style
Thai trainers tend to build a thick pad over the knuckles and go lighter on the wrist, partly because Thai boxers throw fewer punches per round than boxers and partly because they wrap for the feel of the hand in a glove that's been through hundreds of pad rounds. Boxing coaches emphasise the wrist and often use more wrap between the fingers. Neither is wrong. For a beginner doing pads, bags and technical sparring, the method above sits in the middle.
Looking after wraps
- Wash them. Every few sessions at minimum. Put them in a laundry bag or pillowcase so the Velcro doesn't shred your other clothes, and roll them while they're still slightly damp so they're ready to use.
- Roll them from the Velcro end so the thumb loop comes out first next time.
- Replace them when the elastic goes or the Velcro stops gripping. They're cheap.
Common mistakes
- Starting across the palm. The wrap loosens as you punch.
- Wrapping with a closed fist. Everything is too tight once you spread your hand into a glove.
- Skipping the finger weave. The knuckle padding wanders and the wrap bunches under the palm.
- Ignoring the thumb. A loose thumb gets caught on pads and partners.
- Wrapping the forearm. Support belongs on the wrist joint; the forearm doesn't need it and the wrap won't fit in the glove.
- Using wet wraps from the bottom of your bag. They smell, they don't grip, and they're a skin-infection risk. Dry them.
Where to train this
Ask a coach to check your wraps in your first few classes; most will happily re-wrap you once. Find a class in the UK gym directory or a training camp in Thailand.
Related guides
- Your first Muay Thai class: what to expect
- What oz gloves for Muay Thai
- Best Muay Thai gloves in the UK
- Jab and cross
- Muay Thai for beginners in the UK: kit and costs
FAQs
Can I use inner gloves or gel wraps instead? For a trial class, yes. For regular training, traditional wraps give far better wrist support. Gel gloves are quicker but most coaches consider them a poor substitute once you're hitting pads hard.
What length should I buy? 4.5 m (180 inch) for adults. Longer wraps exist for large hands or fighters who want extra padding, but 4.5 m is the standard.
Do I need wraps for bag work at home? Yes. Heavy bags are less forgiving than pads, and unwrapped hands on a bag are how people end up with sore wrists for a month.
How do I wrap for a fight? Competition wraps are usually gauze and tape, applied by a cornerman and checked by an official. That's a separate skill and not something you need to learn as a beginner.